Top 10 Real Estate Photography Editing Techniques
For many photographers, the post-processing for real estate photography takes a considerable amount of time. As this is a crucial phase in producing stunning photos that can assist clients in selling their house, it typically takes a considerable amount of time.
Photographers can use a variety of ways to edit and enhance the appearance of the properties in images.
The following are some of the most fundamental and popular editing methods for real estate photography:
1. Color Correction
One of the most fundamental and important processes in real estate photo editing is likely color correction. Lightroom and Photoshop both support color correcting. However, using Lightroom makes things simpler and faster. Simply click on a white space with the eyedropper tool to adjust the colors throughout the entire image. In order to create a more realistic image, you might need to tweak the saturation, hue, and tint.
2. Straighten
You need to be especially cautious while shooting properties with your lines. Make sure that these are straight and not in any way twisted. You need to pay attention to the lines and capture them correctly whether you’re shooting inside or outside. After a shot, you may always touch them up. In Photoshop, you can utilize the Free Transform to align the lines. Make careful to pick the entire image before dragging the corner that is opposite the direction that the lines are leaning.
3.
The shadows and uneven lighting can be a concern when photographing interiors or exteriors. Use Lightroom to modify the shadows, highlights, whites, and blacks to combat this. To slightly widen the shadows, drag the Shadows bar to the right. Make sure the center ground is secure. You might wish to drag your highlights bar to the left to reduce the strong highlights if your image has them. Hold down the Alt key on a PC or the Option key on a Mac to change the whites and blacks. When you notice white or black specks on the screen, move the whites or blacks bar to the right.
4. Adjust Clarity
Simply move the clarity slider to the right in Lightroom to enhance the image. To give the image depth and a crisper appearance, you might wish to modify the blacks along with the clarity.
5. HDR
Many real estate photographers employ the high dynamic range (HDR) approach to produce images with a wider dynamic range of luminance. Make sure you have taken multiple bracketed shots of your topic in order to create HDR photos. All that’s left to do is combine the images into a single one to reveal the highlights and shadows.
6. Lens correction
This is a handy tool that you can use in Lightroom. It corrects the optical issues found in most lenses. To use this, just go to the Lens Correction module and click Enable Profile Corrections. Then, click on Remove Color Aberration.
7. Remove Unwanted Objects
You can remove all the extraneous components from the frame with this tool. You can take down part of the wall decor that you don’t want
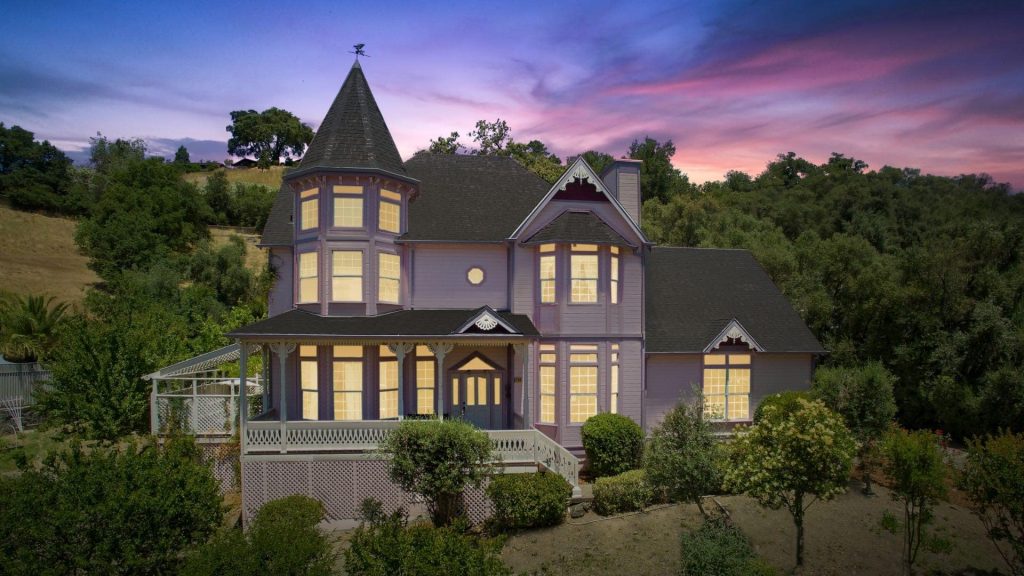
8. Skies Replacement
The majority of the time, real estate photos feature stunning skylines and clouds. Typically, the sky is obtained from another image and combined with the real estate image for these types of pictures. The pictures have a dreamy quality as a result. Therefore, you must try switching the sky if you want some beautiful photographs for your real estate advertisements.
9. Resize Image
You can batch-resize your photographs using the image editor. This is a useful tool if you are working on a large number of photographs that will be utilized in various media. Choose File from the menu, then click Image Processor to get the image processor tool. Select Folder in the dialog window, then store the file there. Select JPEG as the file type, then click Resize to Fit and enter the appropriate proportions. Click Run after making sure the ICC profile is included.
When uploading on Zillow or MLS, the images need to be resized
10. Keeping image natural
Keep it natural is the final and most crucial picture editing trick when retouching real estate photos. When altering images, it’s all too simple to go crazy. To make the images seem more authentic, you must, nevertheless, give them a more natural appearance. Selling the property is the aim of real estate photography. Every time you alter your photographs, make sure to err on the side of natural.