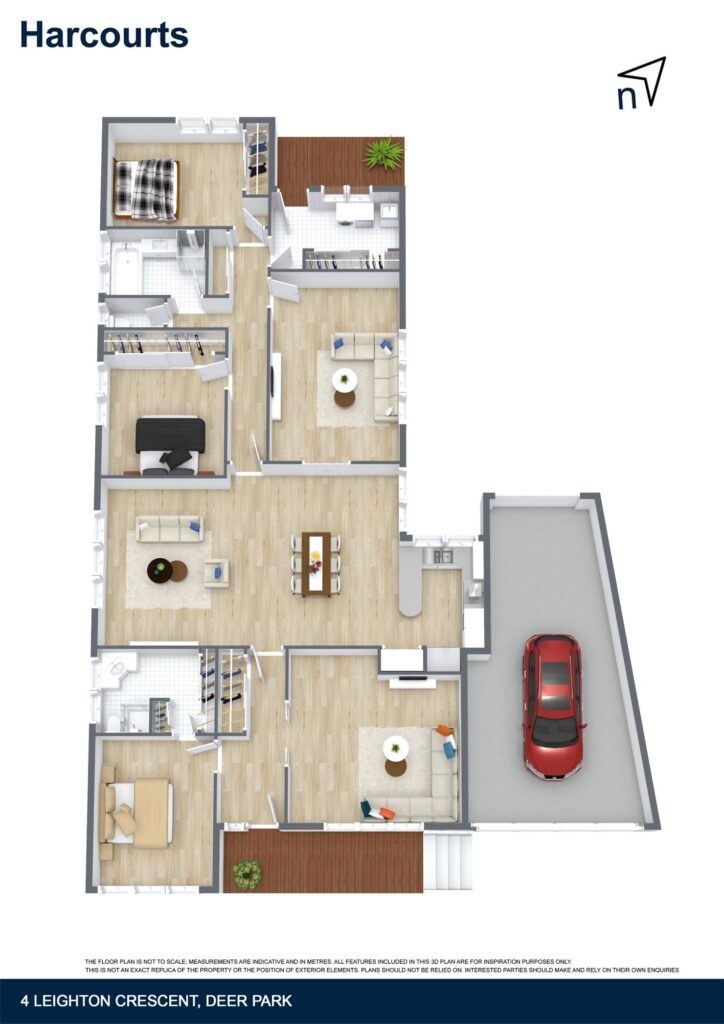
Before diving into the drawing process, it’s crucial to understand what a floor plan is and its purpose. A floor-plan is a scaled diagram of a room or building viewed from above. It typically includes walls, doors, windows, and other important architectural elements. Floor plans are used by architects, interior designers, and builders to plan the layout of a space.
Step 1: Determine the Purpose of the Floor Plan
The first step in drawing is to determine its purpose. Are you designing a new home, remodeling an existing space, or planning an office layout? Understanding the purpose will guide your design decisions and help you prioritize certain elements over others. For example, a floor plan for a commercial space might focus more on maximizing customer flow, while a residential floor plan may emphasize comfort and aesthetics.
Step 2: Measure the Space of the floor plan
Accurate measurements are the foundation of a good floor plan. Start by measuring the dimensions of the space you’re designing. Use a tape measure to record the length, width, and height of each room. Don’t forget to measure doorways, windows, and any other fixed features. It’s essential to be precise, as even small measurement errors can lead to significant issues later on.
Step 3: Choose the Scale
Once you have the measurements, the next step is to choose a scale for your floor plan. The scale is the ratio of the drawing’s size to the actual size of the space. Common scales include 1/4 inch = 1 foot or 1:50, but the scale you choose will depend on the size of the space and the level of detail required. Ensure that your scale allows you to fit the entire layout on your chosen medium, whether it’s paper or a digital platform.
Step 4: Draw the Outline of the Space
With your measurements and scale ready, begin by drawing the outline of the space. Start with the exterior walls, then move on to interior walls. Use a ruler or a straightedge to ensure your lines are straight and accurate. If you’re using software, most programs will have tools that help you create straight lines and precise angles.
Step 5: Add Architectural Features
After drawing the basic outline, it’s time to add architectural features such as doors, windows, and staircases. Make sure to place them accurately according to your measurements. Doors are usually represented by a straight line with an arc indicating the direction in which they open. Windows can be shown as breaks in the walls with thinner lines indicating the glass.
Step 6: Include Furniture and Fixtures
To make your floor plan more functional, consider adding furniture and fixtures. This step is especially important if you’re designing an interior space, as it helps to visualize how the space will be used. Use scaled furniture templates or draw your own representations of sofas, tables, beds, and kitchen appliances. Ensure there is enough space for movement and that the layout is practical.
Step 7: Review and Revise
Once you’ve completed your floor plan, take the time to review it carefully. Check all measurements and ensure that everything is to scale. Consider how the space will be used and whether the layout is practical and efficient. It’s also a good idea to get feedback from others, especially if you’re designing a space for someone else. Make any necessary revisions to improve the design.
Step 8: Create a Final Version
After making revisions, create a final version of your floor plan. If you’re drawing by hand, use a fresh sheet of paper or a clean digital file to ensure the final plan is neat and easy to read. If you’re using software, export the plan in a suitable format, such as PDF or JPEG. Label all rooms and features clearly, and include dimensions and scale information.
Step 9: Share Your Floor Plan
The last step is to share your floor plan with others. Whether it’s for personal use, a client, or a contractor, make sure the plan is easy to understand. You can print it out, share it digitally, or even present it in a 3D model if your software allows.
Conclusion
Drawing a floor plan may seem daunting at first, but by following these steps, you can create an accurate and functional design. Remember that a good floor plan is not just about aesthetics; it’s about making the most of the available space and ensuring that the layout meets the needs of its users. With careful planning, precise measurements, and attention to detail, you can create a floorplan that serves as a solid foundation for your project.

