Would you like to learn how to change the sky in Photoshop? The greatest effective sky replacement you can make to a real estate image frequently has nothing to do with the actual property.
You need to create an atmosphere that potential buyers can’t resist if you want to sell a house quickly. They should be able to picture themselves living there.
To improve your real estate photos and speed up the sale of your home, we’ll show you how to change the sky in Photoshop in this post.
But first, let’s look at the advantages of sky replacement in real estate images before we teach you how to make your house enticing to home buyers.
The Buyers Are Captivated by the Sky
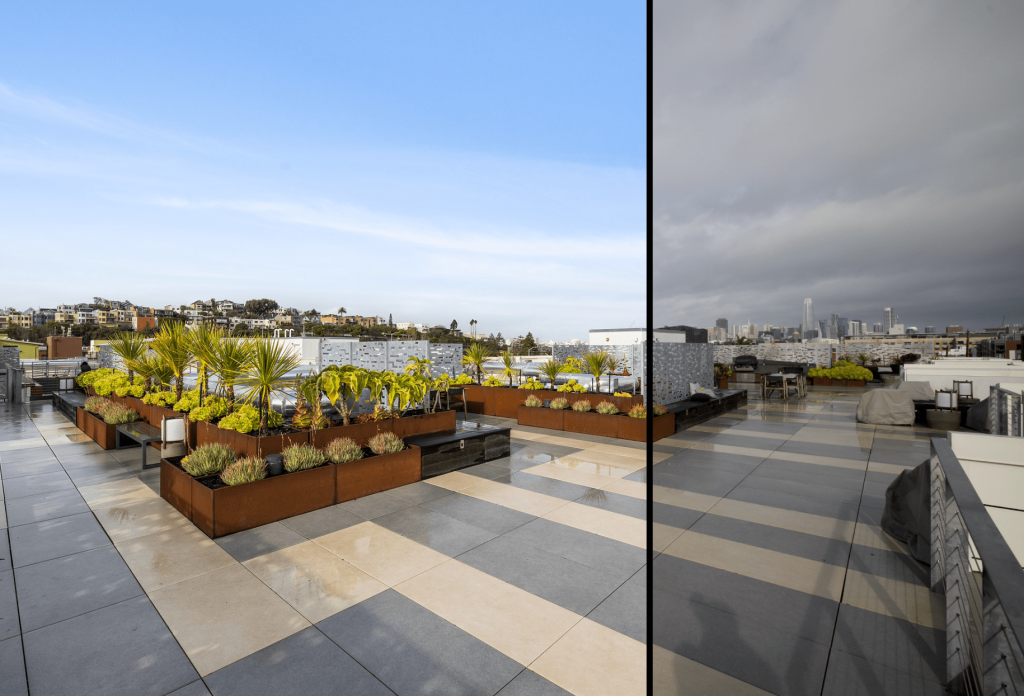
A beautiful sky has a tremendous impact on potential house buyers, despite the fact that sometimes it seems unneeded or like too much labor to take the time to brighten it up.
If the sky is clear, bright, and welcoming, not only will they be much more receptive to what you are offering, but they’re also likely to spend longer gazing at the image.
More importantly, a crystal-clear sky will highlight your home and make it easier for you to sell it.
More Benefits of a Sky Replacement
By adding animate or inanimate items like rainbows, birds, moving clouds, airplanes, and more, sky replacement can improve a shot.
Here are a few advantages of sky replacement in real estate photos to offer you a better overview:
Enhances the appearance of your property: Using a sky replacement, you can improve the appearance of your property in online real estate listings.
Provides real estate photographers more freedom: You don’t have to worry about picking the ideal time of day or the climate. Instead, you can organize a shoot and take your pictures whenever it is most convenient for you.
Mood booster: The weather has a greater impact on someone’s mood than anything. Grey, ominous sky depress us, whereas blue skies uplift us. Therefore, focus on the sky in a real estate snapshot to uplift the tone and feel of the image.
How to Do a Sky Replacement in Photoshop (10 Steps)
- In Lightroom, start by doing the usual basic adjustments to the photo. Make sure that the snow in your photo has a neutral color that’s not too cold or too warm.
- Move the photo in Photoshop by right-clicking on the image and selecting ‘Edit in Photoshop.’
- Now, duplicate the photo.
- Go to the channel tab, and duplicate the Blue channel, as that will help you to process the sky replacement.
- Adjust the level by pressing CTRL + L on the keyboard. And move the slider to adjust the levels until you’re satisfied.
- Next, you want to make the Non-Sky area black for easy contrast. (Pro-tip, use a Dodge brush to lighten up the sky for easy selection).
- In the next step, you want to load that channel as a selection. Once you’ve loaded the channel, hold down the ALT button while clicking the Masking button.
- Import the sky you’ve chosen into Photoshop as a layer, and place it underneath the duplicate layer you created earlier. Then, adjust its position to look natural.
- For best results, add a white gradient on the horizon by adding a new blank layer on top of the sky replacement layer. Finally, use a gradient tool (G) with a white foreground, which will blend the sky nicely into the mountain view.
- When you are done, save the new image.